ApSUVai
Bilgi Girilmemiş
Step 1: Removing Stock Fuel Pump
First, we need to remove the rear seat.
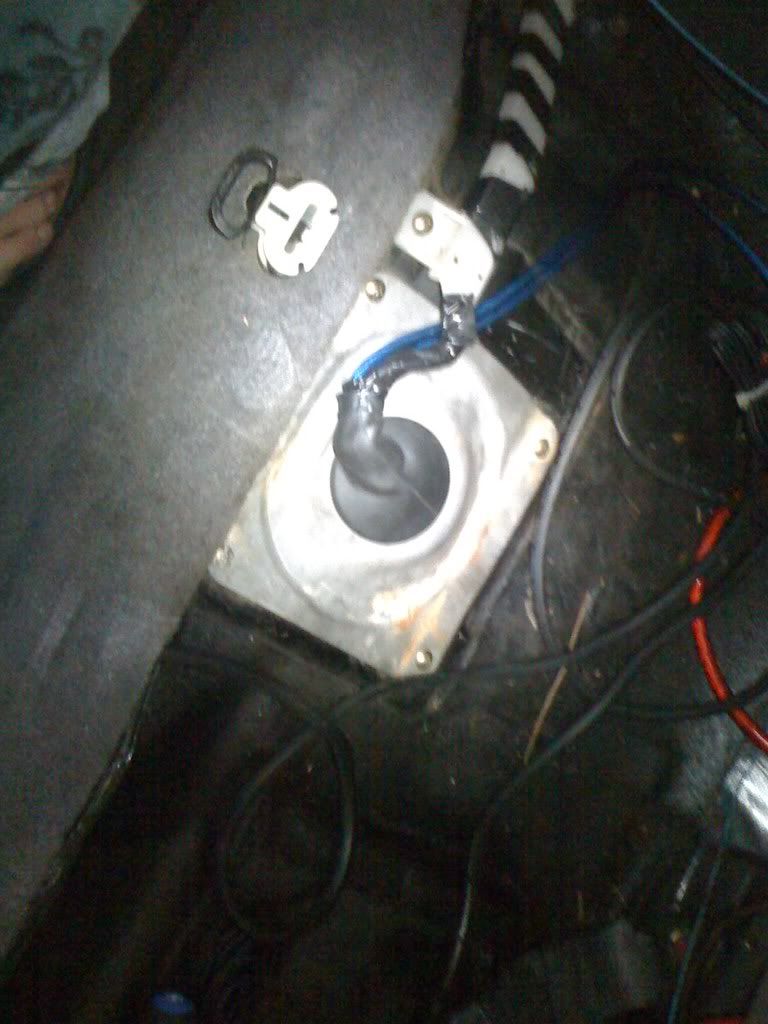
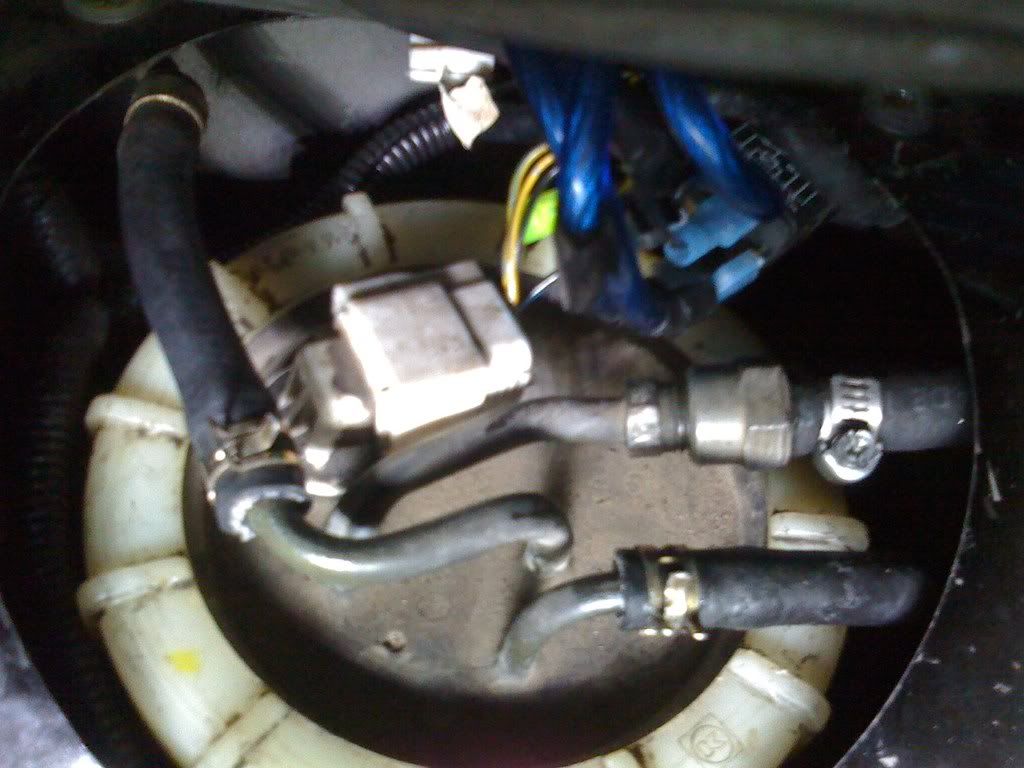
Next, remove the screw that holds the fuel pump harness to the chassis of the car and the 4 screws that hold the fuel pump assembly cover to the chassis of the car. You can go ahead and disconnect the two connectors as well: one on top of the fuel pump assembly and the other that connects to the subunit fuel level sending unit (other side of fuel tank).
Attempt to turn over the engine with the key. The car will not start of course. This will help relieve fuel pressure in the line. You will need to do this for a few minutes but take breaks in between so you don't burn up the starter.
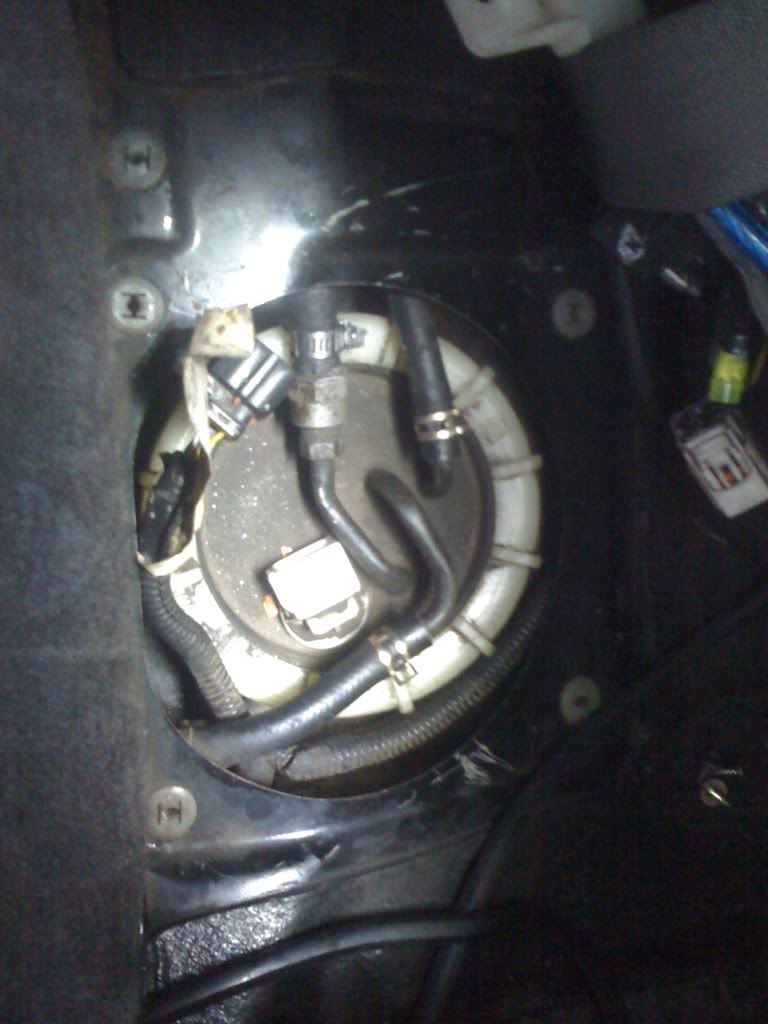
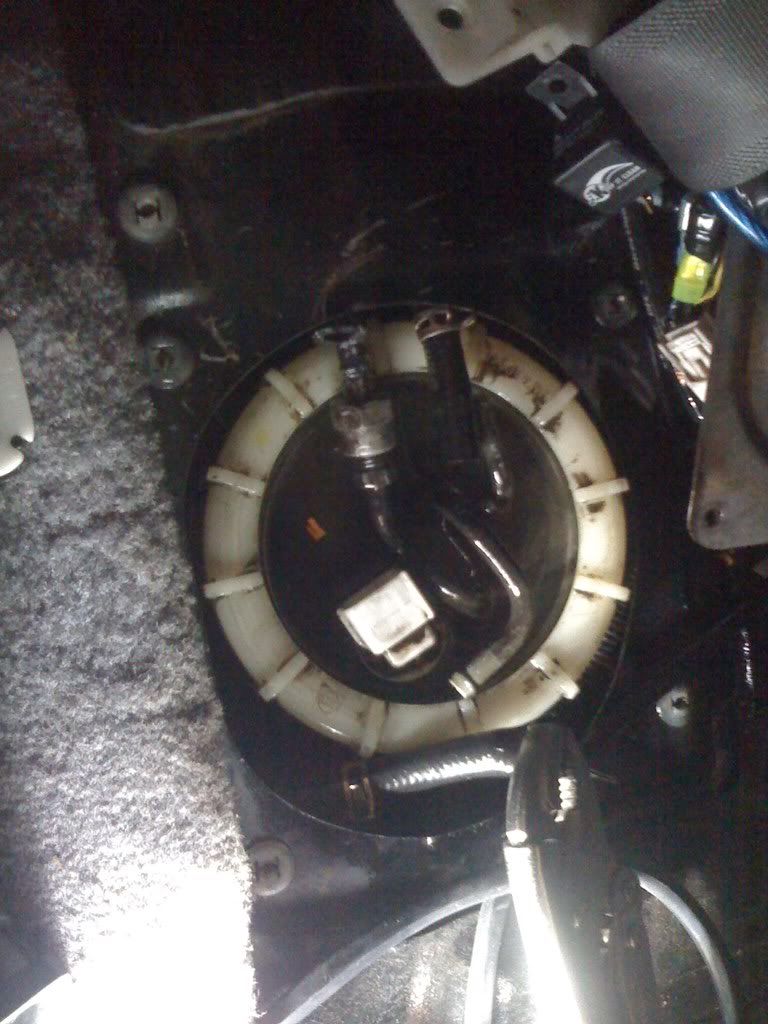
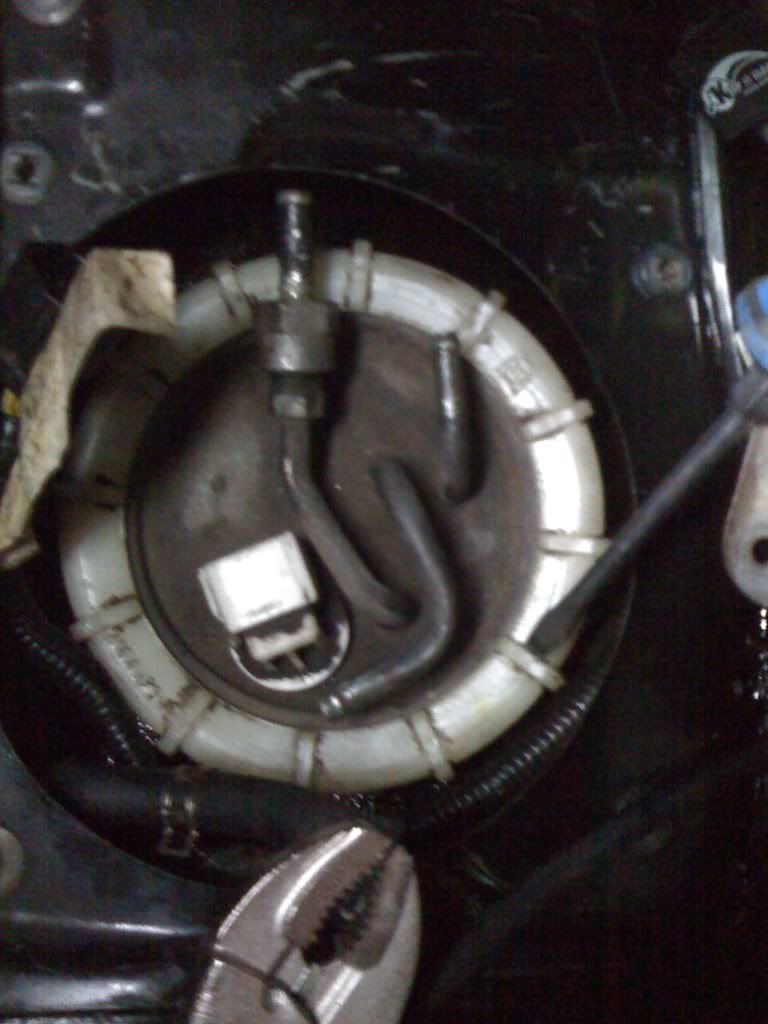
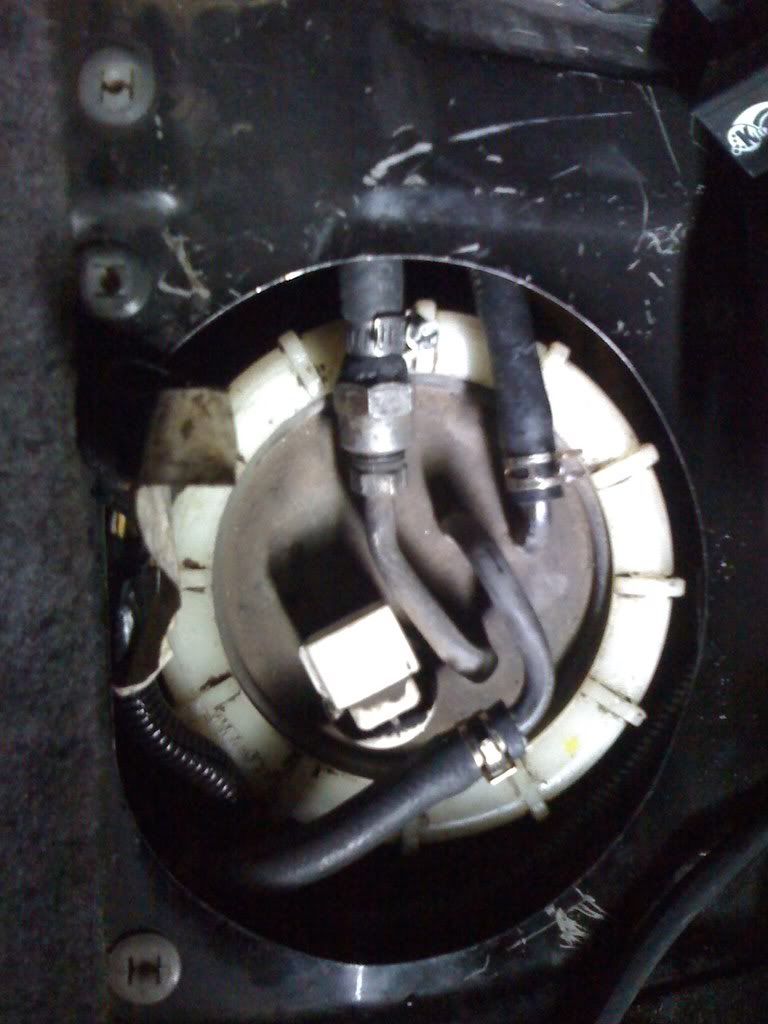
Now you can go ahead and remove the 3 fuel lines from the fuel pump assembly. Just to make sure, put a set of vice grips on the fuel return line to block the line so you don't spew fuel everywhere.
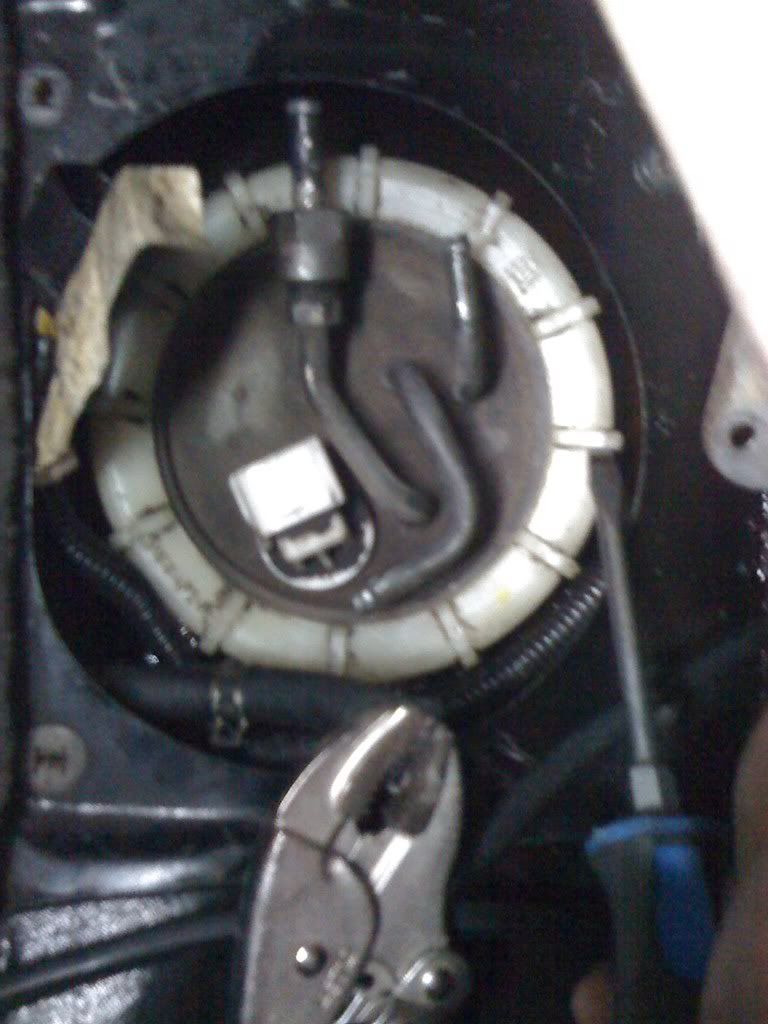
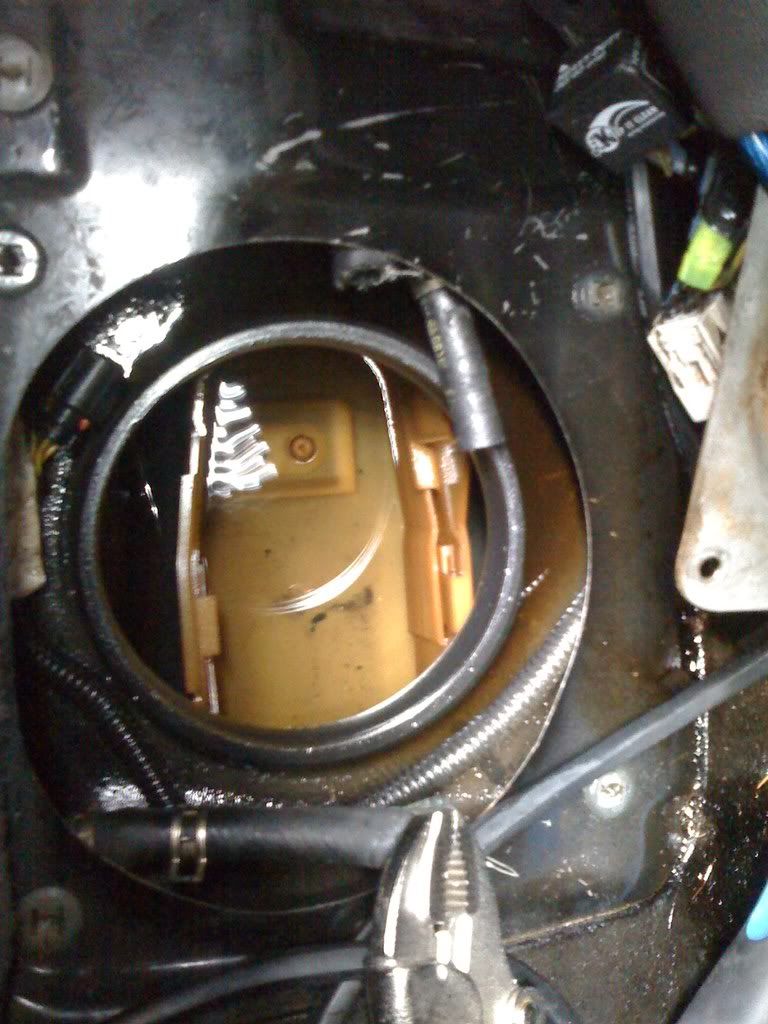
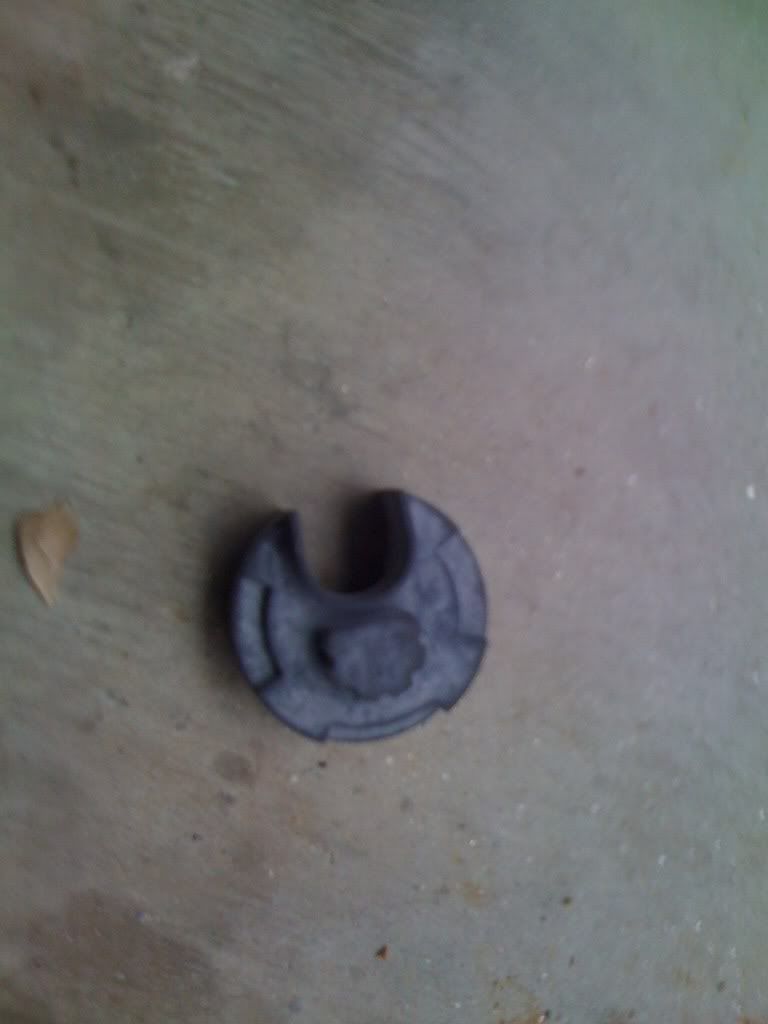
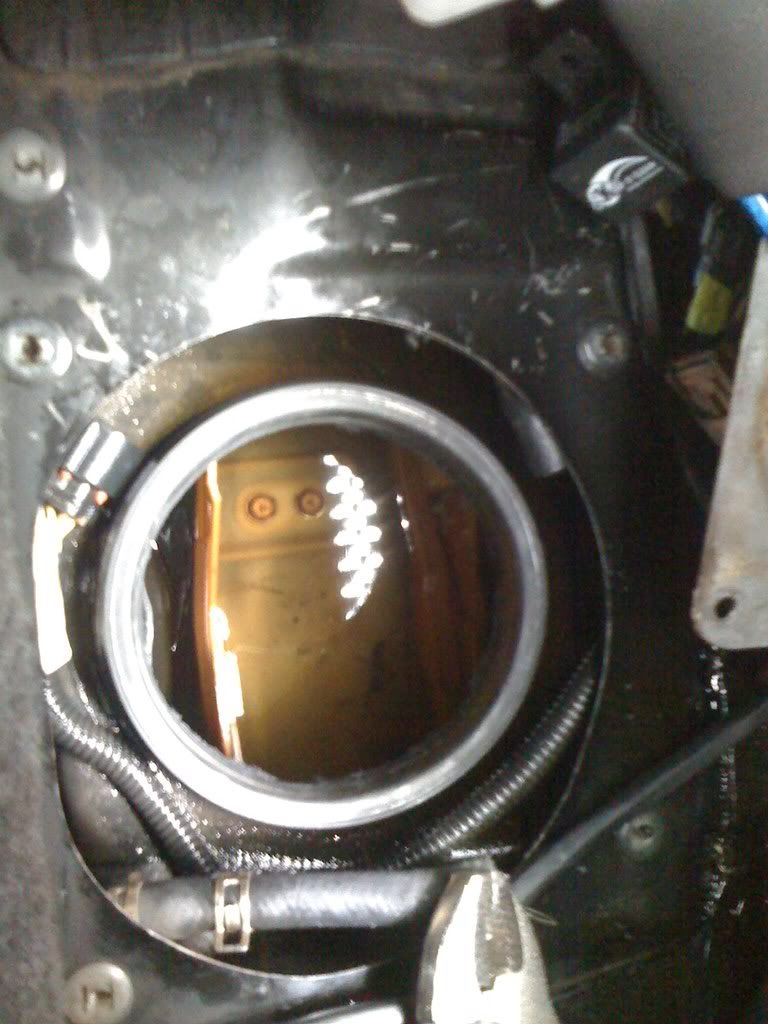
Now we need to unscrew the plastic fastener so we can pull out the fuel pump assembly. Place a flathead screwdriver as shown in picture and hit it so break the plastic fastener loose just like you would a screw/bolt.
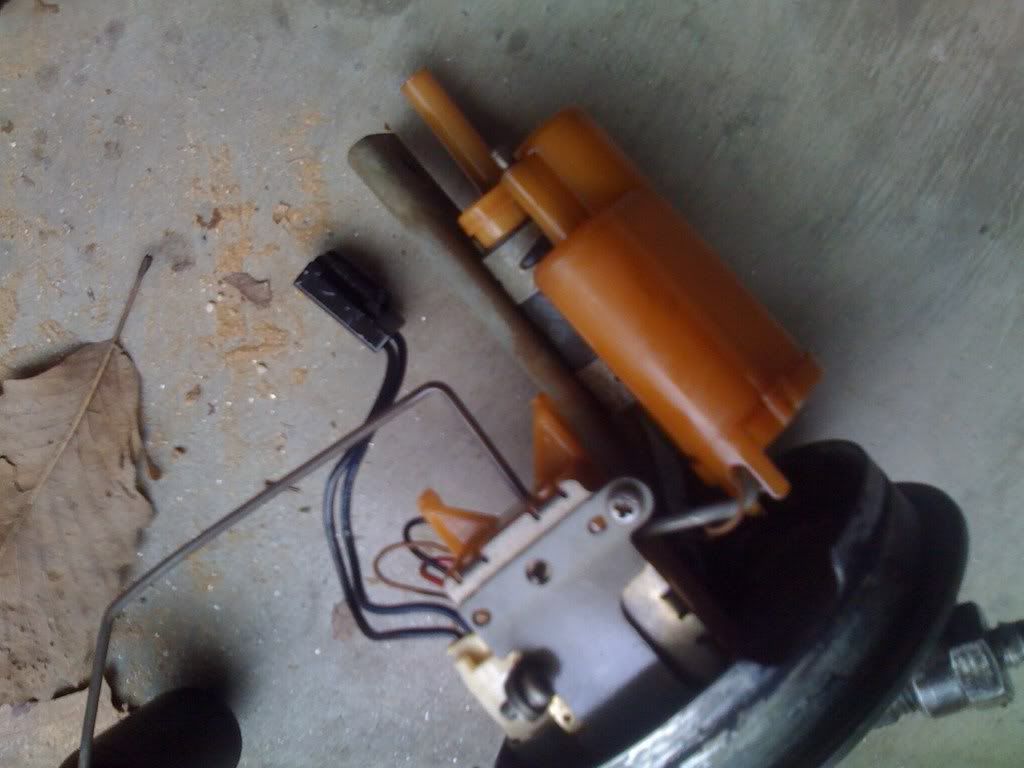
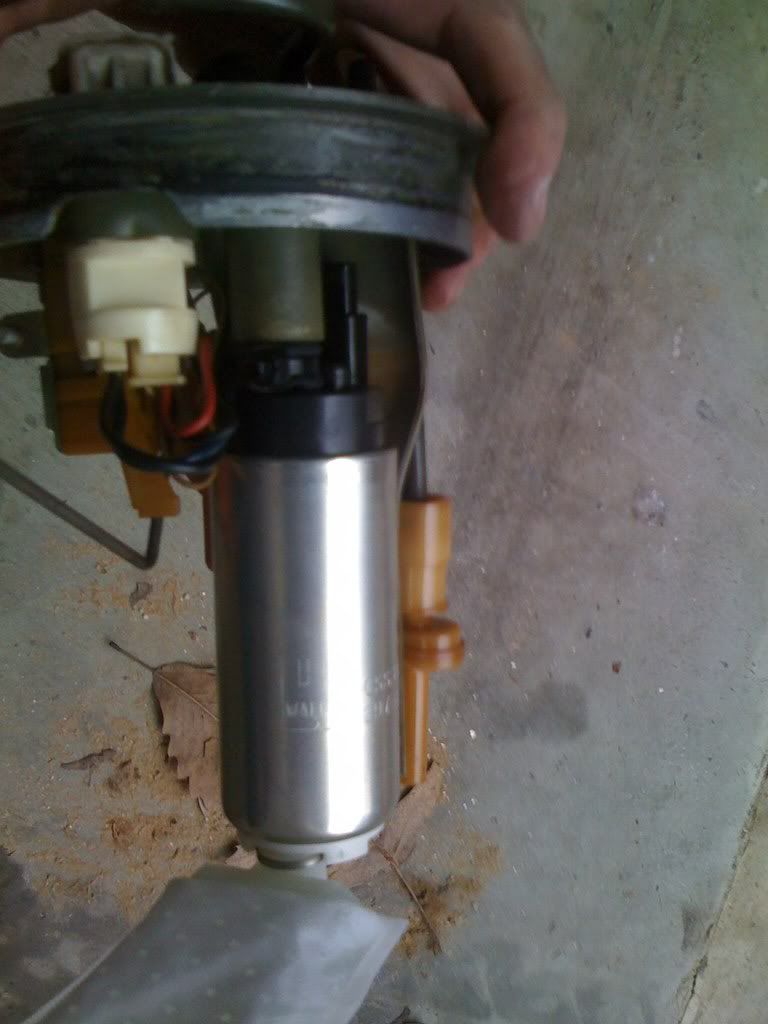
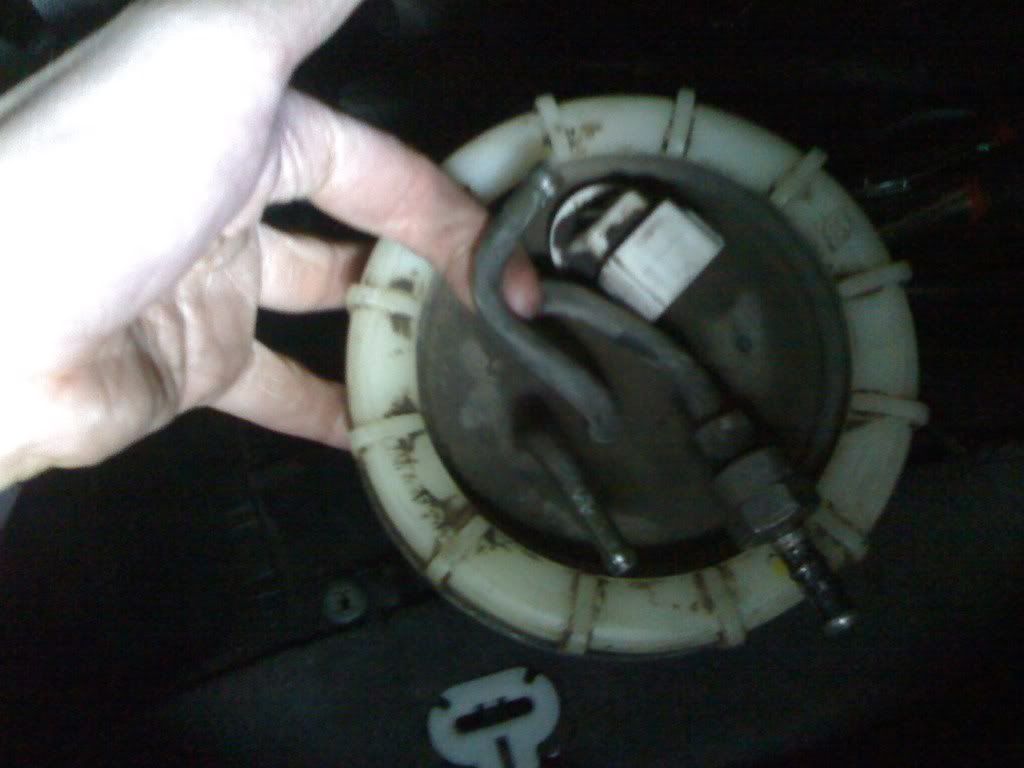
Now you're able to pull out the stock fuel pump assembly.

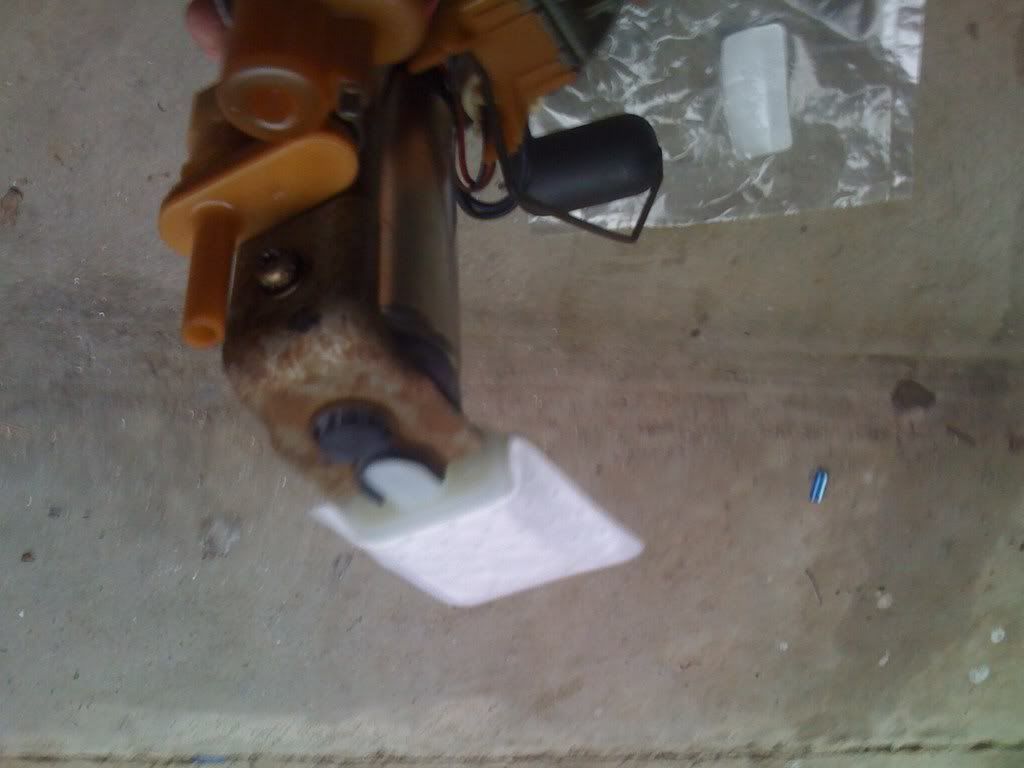
Now we need to remove the single bracket screw as shown.
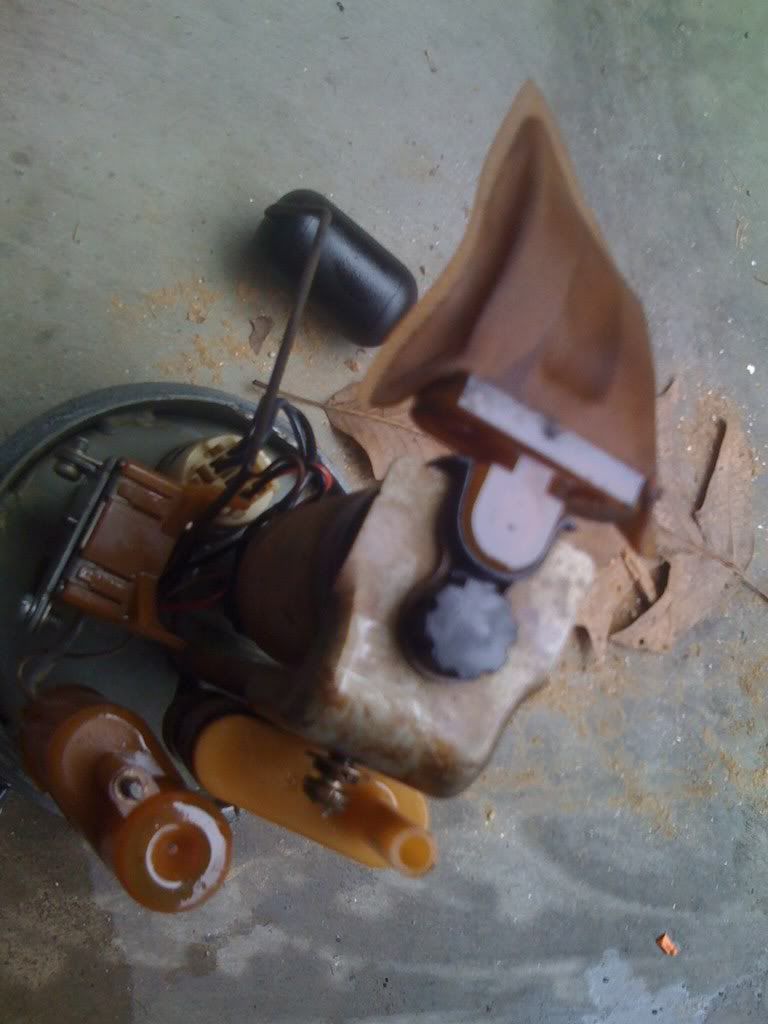
Remove the screw and the bracket.
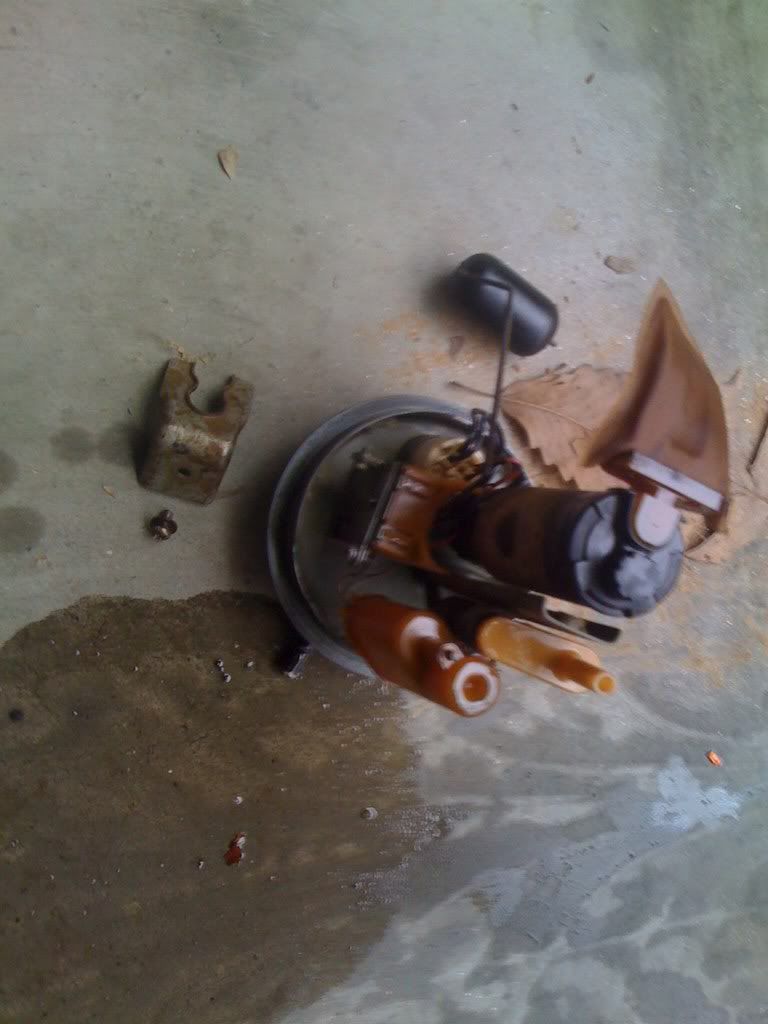
Pull the fuel pump out of the assembly. It's only being held in now by the 2" fuel hose on the assembly.
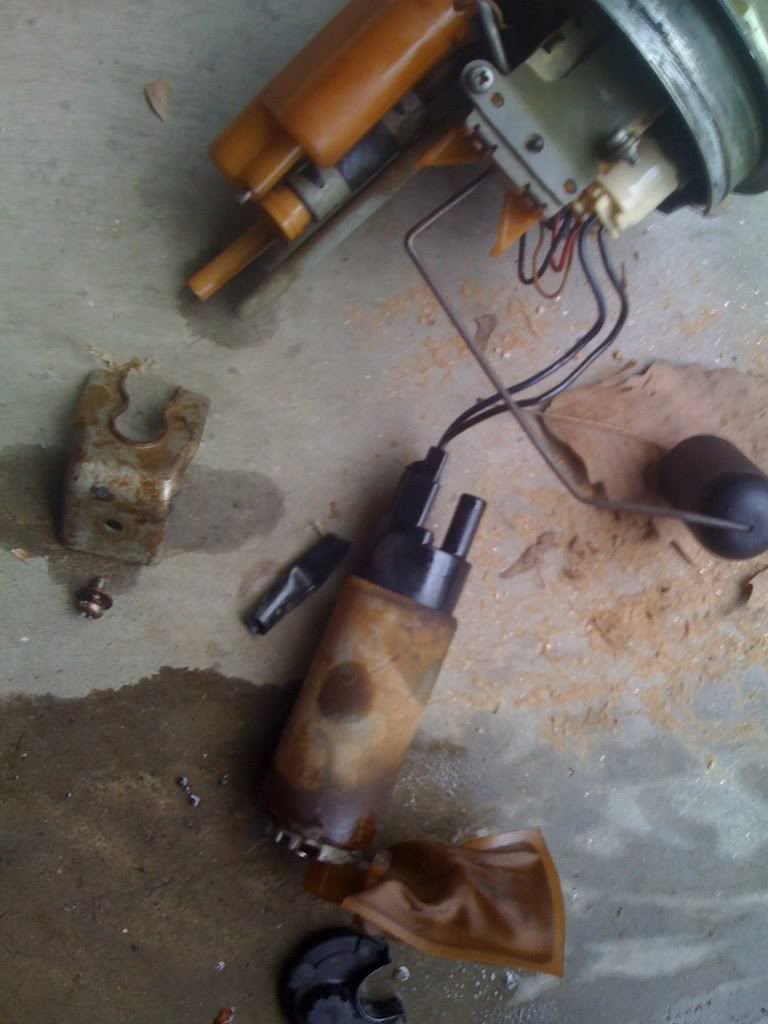
Disconnect the fuel pump connector.
Step 2: Installing Walbro Pump to Factory Fuel Pump Assembly
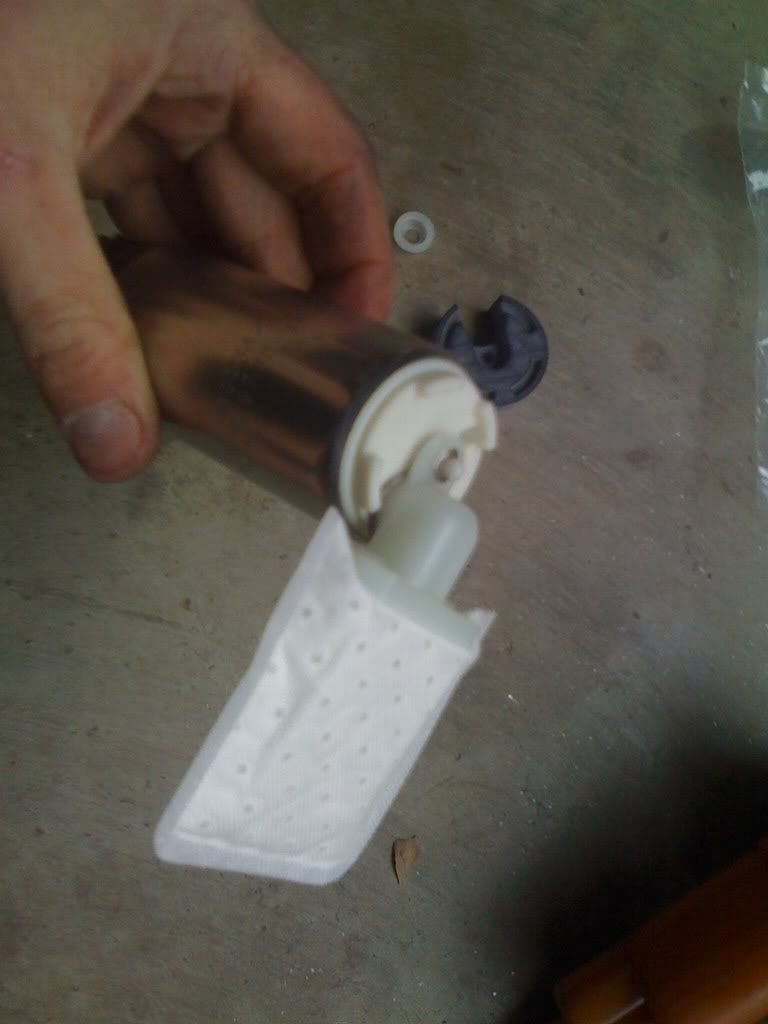
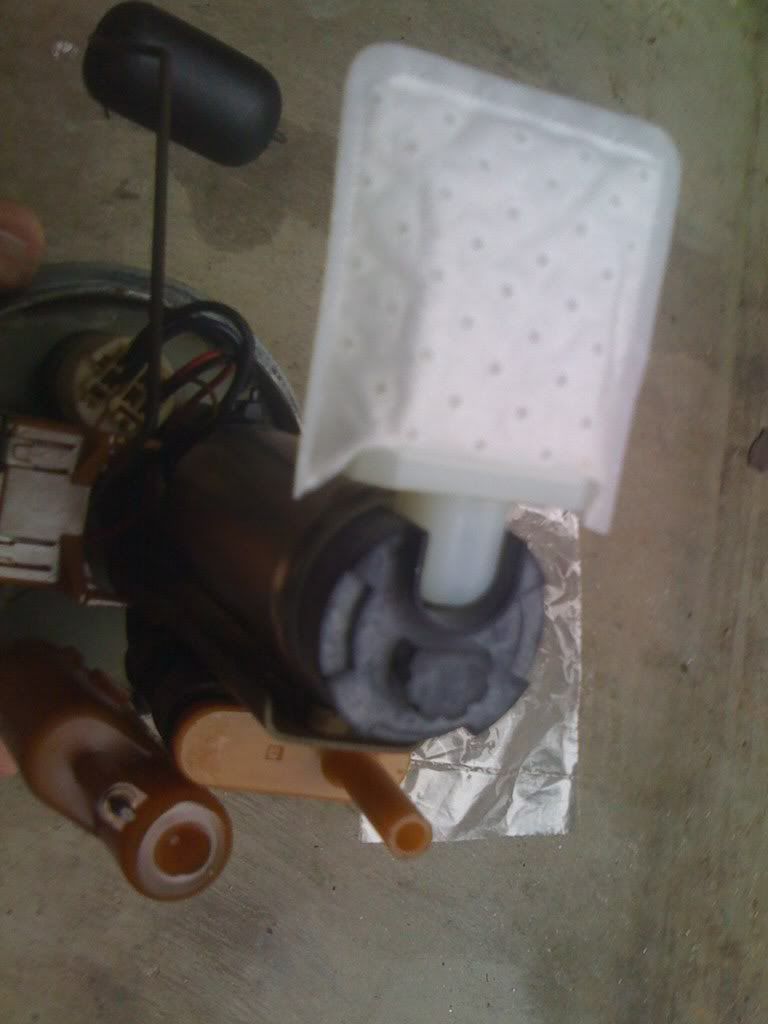
First we need to install the new fuel pump strainer onto the Walbro using the snap clip to help hold it in place.
Go ahead and plug the connector into the new Walbro fuel pump.
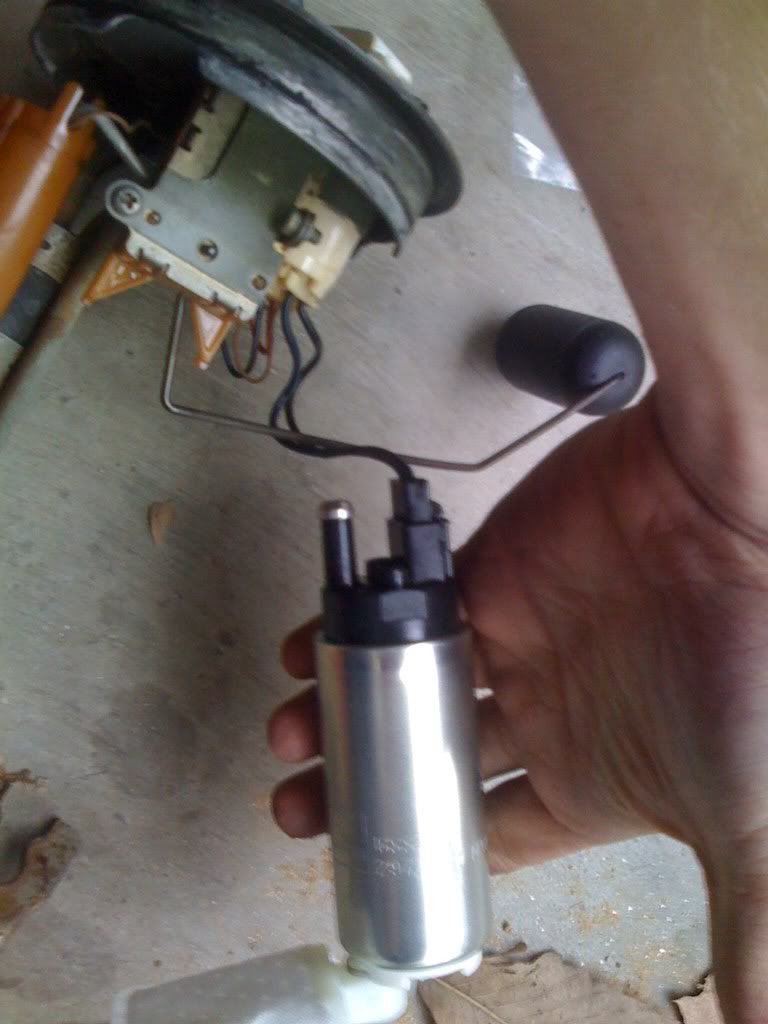
Slide the new Walbro fuel pump onto the 2" fuel hose on the factory assembly.
Now we need to mount the new fuel pump in. Install the new fuel pump bracket cushion onto the fuel pump making sure it fits the grooves of the Walbro fuel pump.
Next, screw the bracket back onto the pump. This will squish the cushion some.
Step 3: Installing Fuel Pump Assembly Into Car
Make sure the fuel pump assembly gasket is put back in the opening of the tank.
Put the plastic fastener back on top of the factory fuel pump assembly then drop the fuel pump assembly back in the tank making sure not to bend the fuel level sending unit float and fuel pump strainer.
Now we can tighten the plastic fastener to hold the fuel pump assembly into the tank.
Now we can install the fuel lines back onto the fuel pump assembly.
Install the fuel pump connector to the fuel pump assembly and be sure to hook up the connector that goes to the sub unit as well.
Screw down the fuel pump assembly cover and harness.
First, we need to remove the rear seat.
Next, remove the screw that holds the fuel pump harness to the chassis of the car and the 4 screws that hold the fuel pump assembly cover to the chassis of the car. You can go ahead and disconnect the two connectors as well: one on top of the fuel pump assembly and the other that connects to the subunit fuel level sending unit (other side of fuel tank).
Attempt to turn over the engine with the key. The car will not start of course. This will help relieve fuel pressure in the line. You will need to do this for a few minutes but take breaks in between so you don't burn up the starter.
Now you can go ahead and remove the 3 fuel lines from the fuel pump assembly. Just to make sure, put a set of vice grips on the fuel return line to block the line so you don't spew fuel everywhere.
Now we need to unscrew the plastic fastener so we can pull out the fuel pump assembly. Place a flathead screwdriver as shown in picture and hit it so break the plastic fastener loose just like you would a screw/bolt.
Now you're able to pull out the stock fuel pump assembly.
Now we need to remove the single bracket screw as shown.
Remove the screw and the bracket.
Pull the fuel pump out of the assembly. It's only being held in now by the 2" fuel hose on the assembly.
Disconnect the fuel pump connector.
Step 2: Installing Walbro Pump to Factory Fuel Pump Assembly
First we need to install the new fuel pump strainer onto the Walbro using the snap clip to help hold it in place.
Go ahead and plug the connector into the new Walbro fuel pump.
Slide the new Walbro fuel pump onto the 2" fuel hose on the factory assembly.
Now we need to mount the new fuel pump in. Install the new fuel pump bracket cushion onto the fuel pump making sure it fits the grooves of the Walbro fuel pump.
Next, screw the bracket back onto the pump. This will squish the cushion some.
Step 3: Installing Fuel Pump Assembly Into Car
Make sure the fuel pump assembly gasket is put back in the opening of the tank.
Put the plastic fastener back on top of the factory fuel pump assembly then drop the fuel pump assembly back in the tank making sure not to bend the fuel level sending unit float and fuel pump strainer.
Now we can tighten the plastic fastener to hold the fuel pump assembly into the tank.
Now we can install the fuel lines back onto the fuel pump assembly.
Install the fuel pump connector to the fuel pump assembly and be sure to hook up the connector that goes to the sub unit as well.
Screw down the fuel pump assembly cover and harness.